When you start using something that is new to you, a tutorial is always best to learn how to use the service properly and efficiently. Here are the steps you would need to take to set up your account with Auto Transport Receipt and use the service to the best of its capabilities. Also, listed below will be images of the actual product.
Step 1 – Sign Up With Auto Transport Receipt
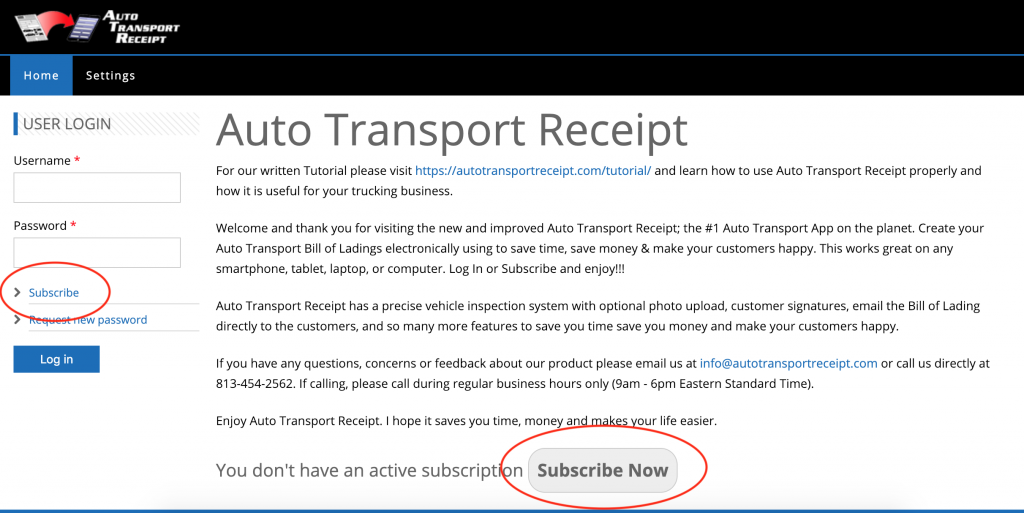 Go to app.autotransportreceipt.com or click the Sign Up/Login button at the top of the screen. Subscribe to Auto Transport Receipt online and get unlimited Receipts for a low monthly rate. Once you sign up you’ll be able to pay with any debit or credit card and you’re able to cancel at ANY time.
Step 2 – Complete Your Company Settings
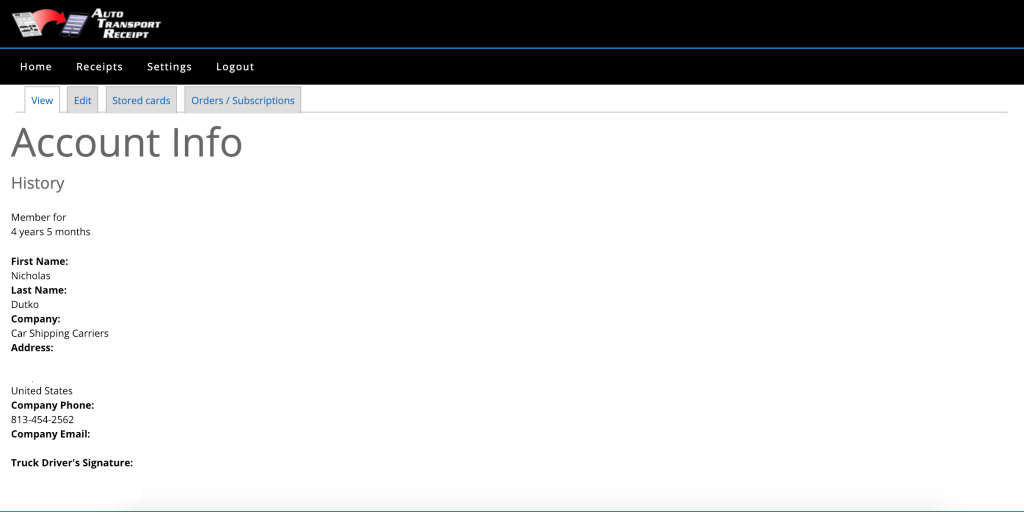 Once you have signed up for Auto Transport Receipt, the very first thing that needs to be done is go to “Settings” and fill out your Company Information. This will be on every Receipt so each customer will know the person and company that transported their vehicle.
Step 3 – Create Your Receipts
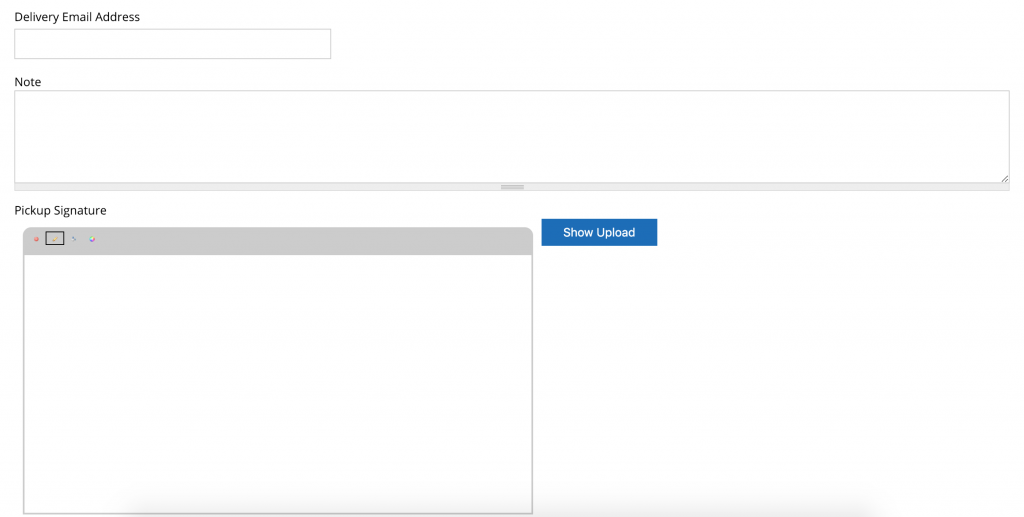
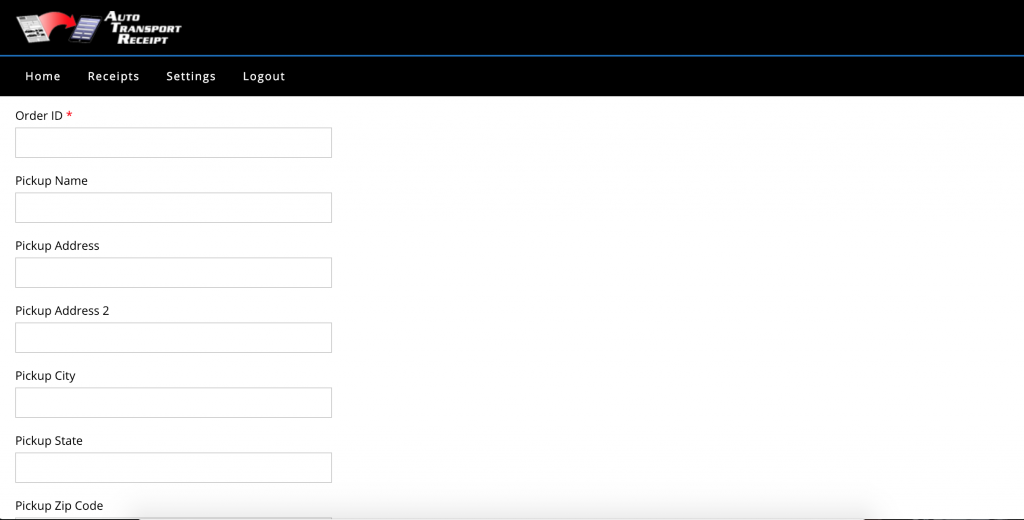 Once the “Settings” are completed it is time to start your first Receipt. Click on “My Receipts” to view previous and current Receipts, have the ability to edit previous and current Receipts and creating a new Receipt. When creating a new Receipt, make sure you put in the Order ID from your load board as the Work Order #. It will help you file things properly later on. Fill out the customers information as you would on a normal paper Bill of Lading. There will be an area for notes so you can add notes about the vehicle or any important information, areas the customers email address so you can email they their Receipt and areas for the customer to sign.
Step 4 – Add A Vehicle & Damage Report To Your Receipts
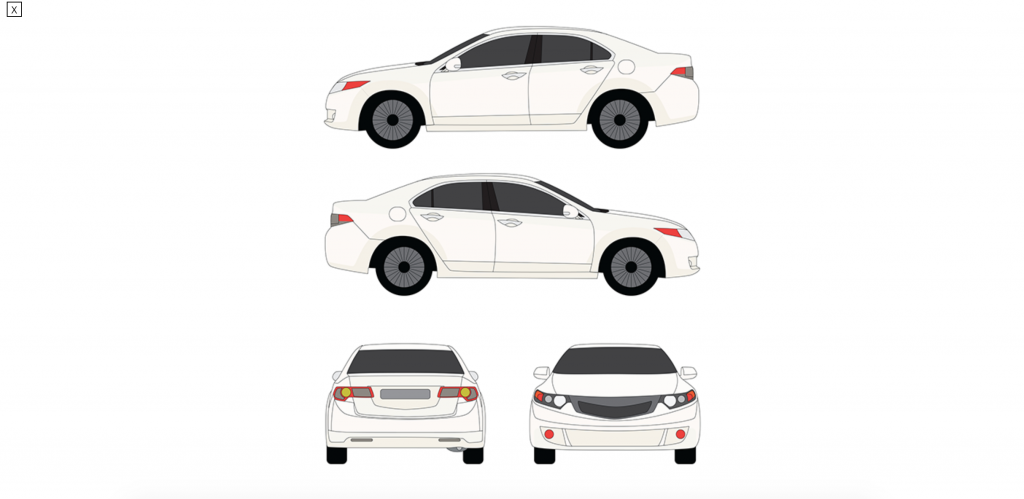
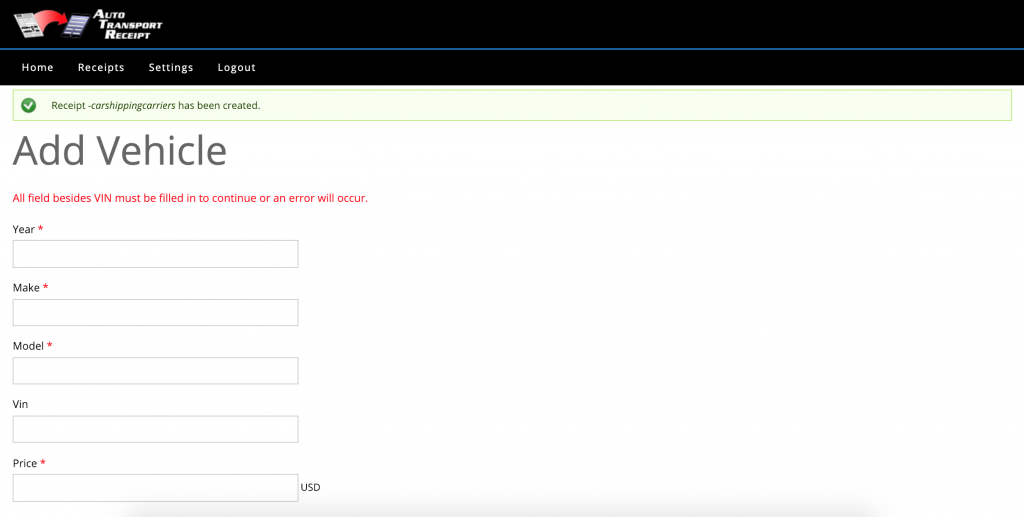
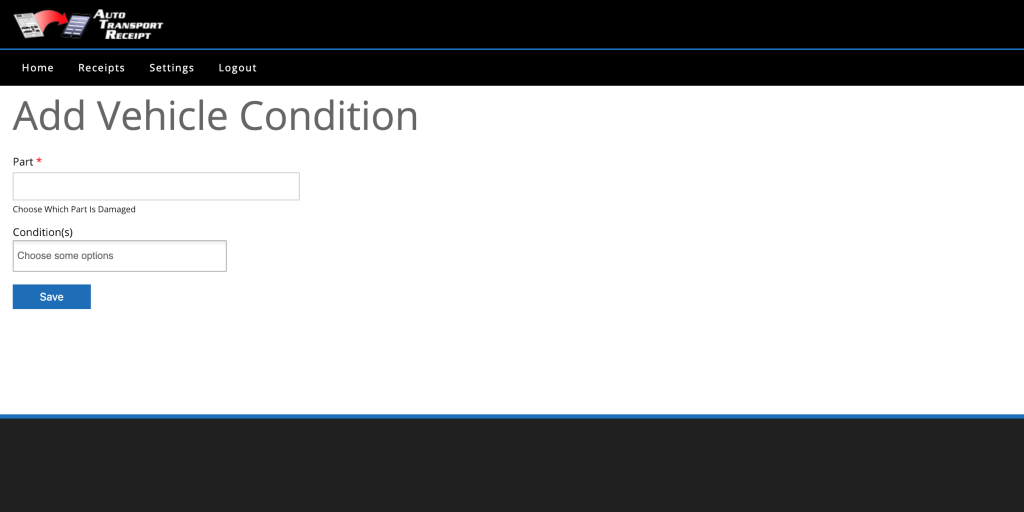 Once you save that Receipt it will take you to the next screen where you can Add New Vehicle. Fill out the information for the customers vehicle that your transporting, Price and the Car Type You MUST fill in Year, Make, Model, Price and Car Type to proceed forward). After you save that information you will be able to Add Vehicle Condition and Add Vehicle Photo. This will the vehicle inspection reporting feature. You can fill out the exact part of the vehicle where there is damage and what the damage is.
Example would be:
Part: Front Driver’s Side Door
Condition: Dented and Scratched
Then you can take a photo (only if you want to) and upload it into the Receipt for further proof of the damage existing.
Step 5 – Print, Download or Email Your Receipt
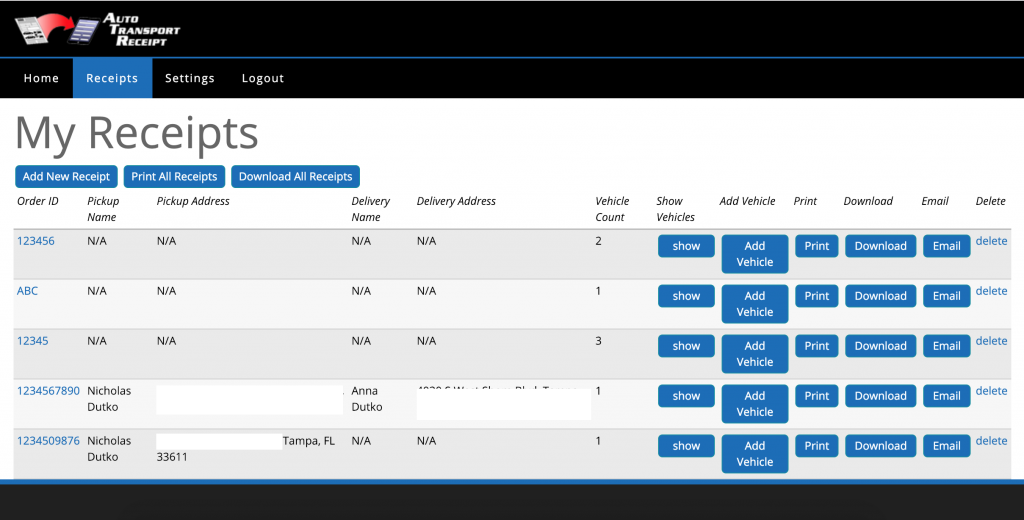 After this is completed you can then Print the Receipt, Download the Receipt or Email the Receipt to the customers. You have options to best fit your needs.
Step 6 – Delete Old Receipts
When you are done with the pick up and delivery of a vehicle and both pick up and delivery has received their version of the Receipt you can simply Delete the Receipt to remove clutter from your workspace.
